good news for blackberry users. now u dont have to use USB broadband to install on ur laptop. just install the blackberry software and a little setup for surfing on the net. just follow these step below.
**This setting also works on handphone that support 3G connection n internet enabled. because the modem is bulid in together. all u need is install the software startup first to ensure the modem driver is install (i have try on sony ericson hp and its works!!)**
 Dial-up setting & configuration using Blackberry 8707G with Celcom on Windows XP Professional.
Requirements:-
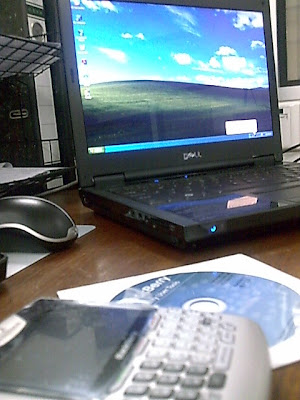
• Blackberry Desktop Software 4.2 must be installed. Follow the instructions manual on the installation CD to install the Blackberry Desktop Software.
• Use USB cable to connect Blackberry device to the computer.
Step 1: Install the Blackberry Desktop Software 4.2.
Step 2: Run the Blackberry Desktop Manager.

Step 3: In the Blackberry Desktop Manager, sets the connection type using USB as figure below. To set, go to Options – Connection Settings.

Step 4: Connect the Blackberry Device to the computer. Wait until Windows properly detect & install the driver.
Step 5: Check & verify the connection is working as figure below.

Step 6: Configure modem settings. Go to Control Panel – Phone and Modem Options. Under the Modems tab, select Standard Modem and click Properties.

Step 7: In the Standard Modem Properties windows, select Diagnostics tab then click Query Modem. If you can see query response as shown below, means the modem connectivity is successfully configured.

Step 8: In the Standard Modem Properties, click Advanced. Type at+cgdcont=1,”IP”,”celcom3g” in the Extra initialization commands box. Click OK to save.
Note:
If you have Celcom 3G SIM Card -
at+cgdcont=1,”IP”,”celcom3g”If you have Celcom GPRS SIM Card -
at+cgdcont=1,”IP”,”celcom.net.my”If you have Maxis 3G SIM Card -
at+cgdcont=1,”IP”,”unet”If you have Maxis GPRS SIM Card -
at+cgdcont=1,”IP”,”net”
Step 9: Create a dialer. Right-click on the My Network Places then clicks Properties.
Step 10: Click Create New Connection. The New Connection Wizards will open. Follow the setting example below:


The following window will appear after you click Finish. Click Properties.

Select Standard Modem, then click Configure.

Change the Maximum speed to 921600. Click OK two times. Then, click Dial to test the connection.

Configuration and setting up of dial-up internet connection using Blackberry 8707G with Celcom is now completed.
this setting also works on Windows Vista. have a nice day surf!!
komen
bacteria: tak perlukan maxis ataupun celcom usb broadband. asalkan credit anda mencukupi. :D